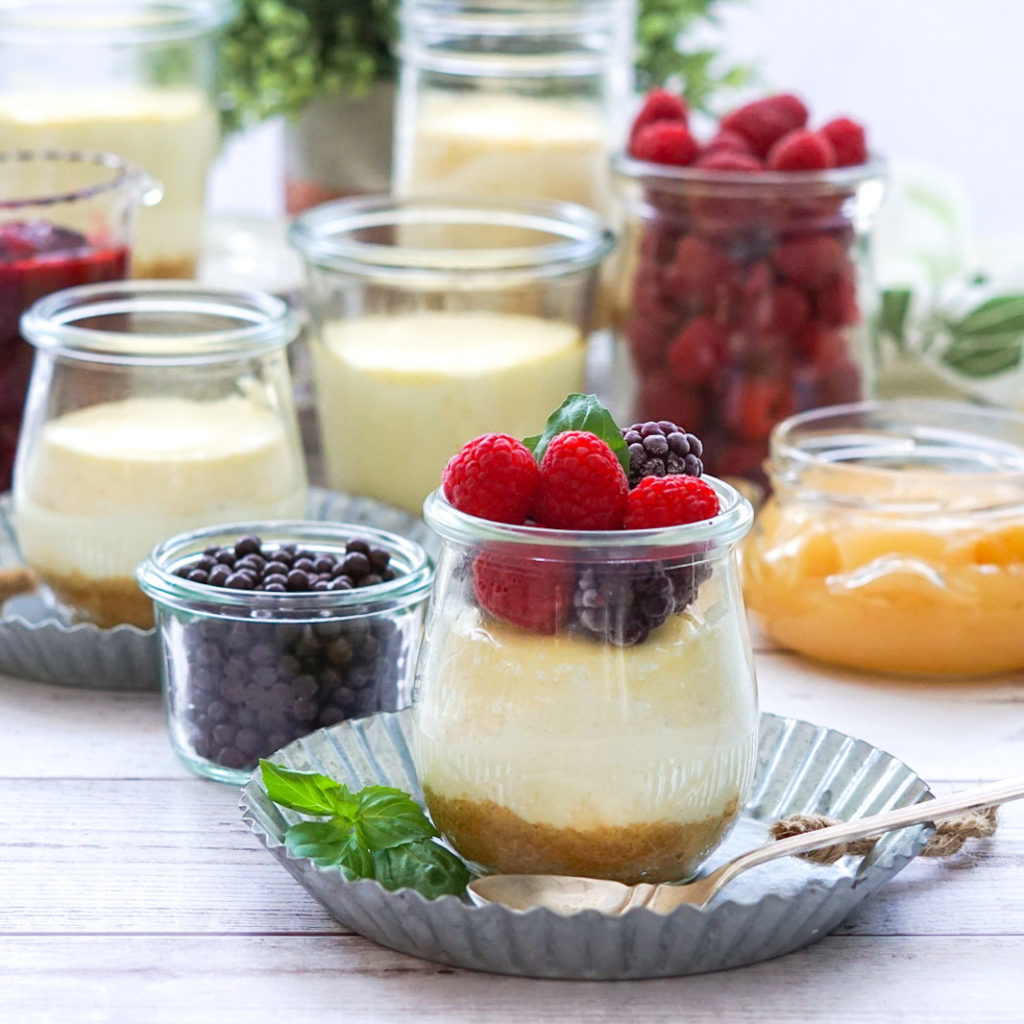
Cheesecake-In-A-Jar

It’s my birthday this weekend and I’m celebrating with a cheesecake-in-a-jar bar. It’s so easy to make these little cheesecake jars, that are so pretty and delicious especially when there are all dressed up.
The cheesecake jars are baked in a water bath. This helps keep the tops from cracking and gives the cheesecakes a lovely creamy texture.
Grab a cheesecake jar and top it with your choice of toppings.
Some suggested toppings:
Cara cara orange curd
Berry coulis
Fresh berries
Shaved chocolate
Chocolate pearls
Caramel
Mini peanut butter cups
Chopped nuts
or just enjoy it plain.
Cheesecake-In-A-Jar
Ingredients
For the Base
- 1 ¼ cups graham crumbs
- ¼ cup melted butter
- ¼ cup sugar
For the Cheesecake
- 16 ounces cream cheese room temperature
- ½ cup sour cream
- ½ can condensed milk
- 2 eggs room temperature
- ½ tsp vanilla
- ¼ tsp salt
- 2 tsp fresh lemon juice
Instructions
- Preheat oven to 325 °F. Lightly grease 6-8 small jars and place the jars in a 9×13” baking dish.
For the Base
- Combine the crumbs, butter and sugar in a bowl. Divide the crumbs evenly between the jars and press down gently to form a crust.
For the Cheesecake Mixture
- Place cream cheese and sour cream in the bowl of a stand mixer and beat until smooth.
- Beat in the condensed milk, eggs, vanilla and salt until the mixture is well blended. Stir in the lemon juice.
- Fill each jar about ¾ full of the cheesecake mixture, leaving about ¼-½ inch at the top, as they do puff up a little. Also you need place for your toppings.
- Place the baking pan with the jars into the oven and carefully fill the pan with hot water about halfway up the jars.
- Bake for 30 minutes, or until the tops of the cheesecakes are just set and golden.
- Remove the jars from the water bath with tongs and place on wire rack to cool.
- Refrigerate for at least 3 hours before serving.
I hope you enjoy this recipe!
Be sure to leave a comment below if you try it.


